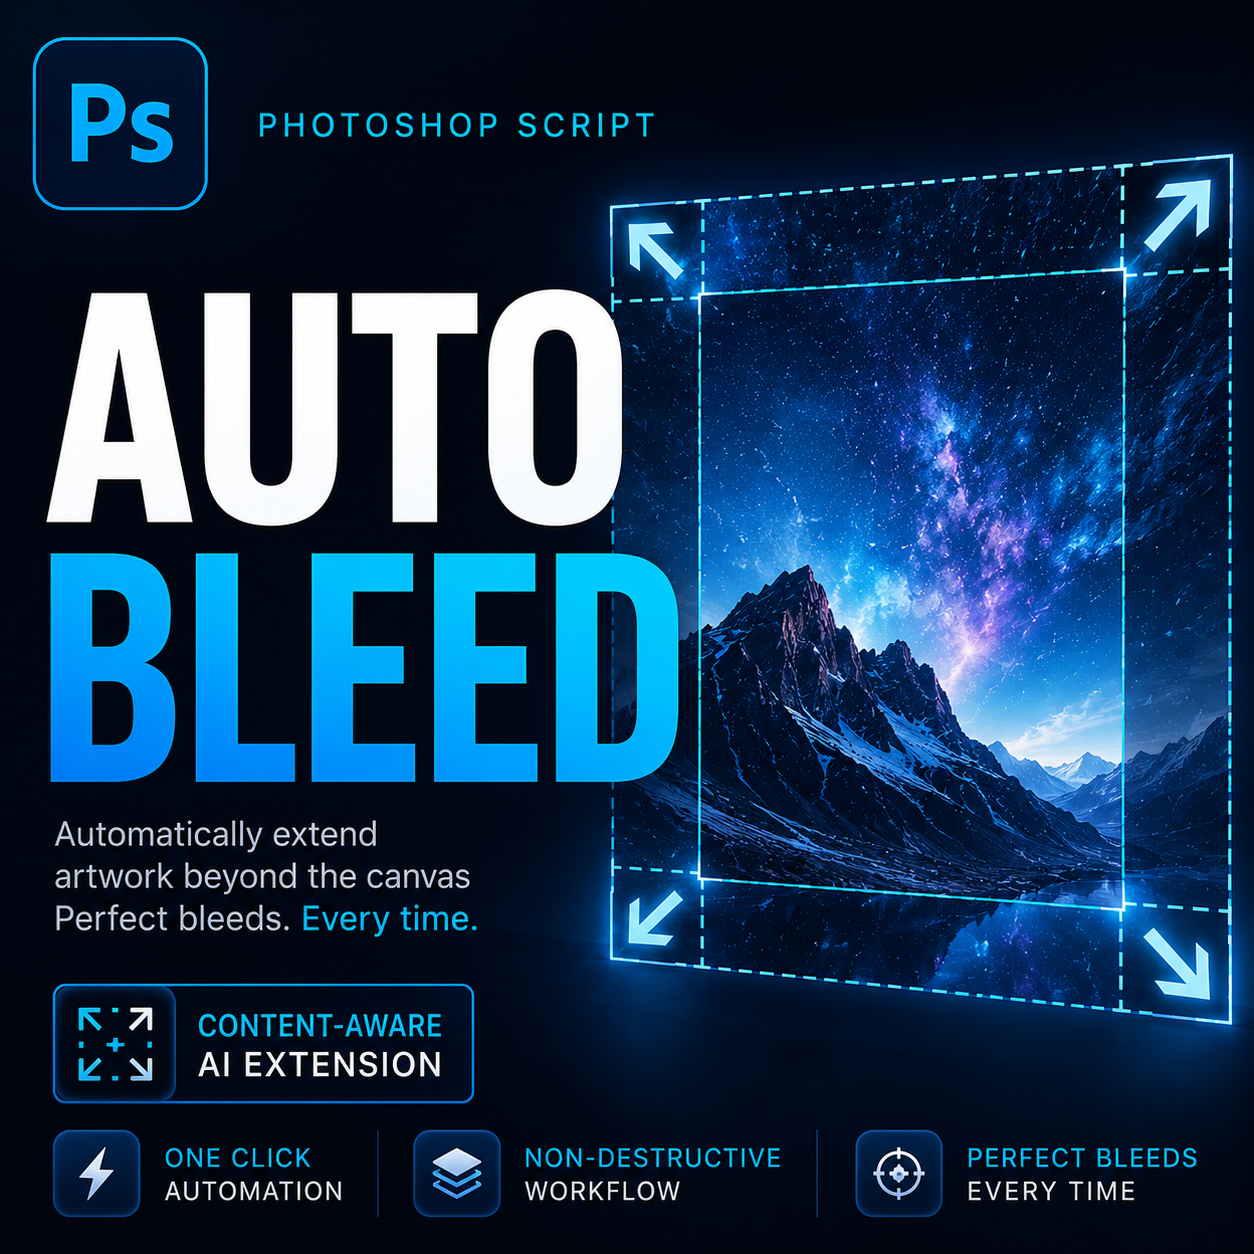
Print bleed is one of the most important yet frequently overlooked requirements in professional design production. Whether you are creating brochures, business cards, packaging, magazines, posters, catalogs, or marketing materials, adding bleed correctly helps prevent unwanted white edges after trimming.
Photoshop provides several ways to extend artwork beyond the trim area, but most designers still rely on manual techniques that consume valuable production time. When dealing with multiple files or recurring client projects, manual bleed creation can quickly become a bottleneck.
This guide explains how to add professional print bleed in Photoshop, compares manual and automated workflows, and demonstrates how a dedicated bleed automation script can dramatically improve production efficiency while maintaining print quality.
Key Takeaways
- Bleed extends artwork beyond the final trim size.
- Most print providers require bleed for accurate trimming.
- Manual bleed creation becomes inefficient when processing multiple files.
- Different artwork types benefit from different bleed generation methods.
- Automated Photoshop scripts can generate bleed, guides, and production-ready files significantly faster.
Why Adding Bleed Matters
Commercial printing equipment trims stacks of printed sheets using mechanical cutting systems. Even highly accurate trimming equipment has small tolerances. If artwork ends exactly at the trim line, tiny cutting variations can expose unwanted white borders.
Bleed solves this problem by extending artwork beyond the final trim dimensions. After trimming, the extra area is removed, ensuring colors, photos, textures, and background elements reach the edge of the finished piece.
Without bleed, designers risk production delays, rejected files, expensive reprints, and dissatisfied clients.
For this reason, print shops routinely request files that include bleed areas and clearly defined trim boundaries.
Manual Workflow for Adding Bleed in Photoshop
Many designers manually create bleed using Photoshop's canvas and editing tools.
- Determine required bleed size.
- Increase canvas dimensions.
- Create guides for trim boundaries.
- Select edge areas.
- Clone or stretch artwork manually.
- Repair visible artifacts.
- Inspect all sides individually.
- Export production files.
Although this workflow works for individual projects, it becomes increasingly time-consuming as project volume grows.
A catalog with dozens of pages, a product packaging series, or a folder containing hundreds of marketing assets may require hours of repetitive work.
Automated Script Workflow
An automated bleed workflow removes repetitive production tasks while giving designers multiple extension methods based on artwork requirements.
Instead of manually expanding every edge, the workflow typically involves:
- Selecting a bleed size.
- Choosing a bleed generation method.
- Applying guides automatically.
- Processing individual documents or entire folders.
- Exporting production-ready files.
Smart Bleed Pro supports several practical approaches:
- Content-Aware Fill expansion
- Full image scaling
- Edge stretching
- Mirror border reflection
- Batch folder processing
- Preset management
- Automatic guide creation
This flexibility allows designers to choose the most suitable technique for each project type.
Step-by-Step Guide
Step 1: Determine Bleed Requirements
Before modifying artwork, confirm the bleed specification required by your printer. Requirements vary depending on region, product type, and production process.
Step 2: Open Your Artwork
Open the Photoshop document you want to prepare for print production.
Step 3: Choose a Bleed Generation Method
For photographic designs, Content-Aware Fill often produces natural-looking extensions.
For patterns, textures, or packaging artwork, mirror borders or edge stretching may provide more predictable results.
Step 4: Define Bleed Margins
Specify bleed values for top, bottom, left, and right sides. Depending on workflow requirements, values can be entered in centimeters, millimeters, or pixels.
Step 5: Create Trim Guides
Generate guides representing the original document boundaries. This helps verify the visible trim area before exporting.
Step 6: Save a Preset
For recurring production jobs, save settings as a reusable preset. This ensures consistency across future projects.
Step 7: Run the Process
Apply the bleed generation process to the active document or process an entire folder automatically.
Step 8: Review Results
Inspect edges carefully and verify that important design elements remain inside safe margins.
Step 9: Export Final Files
Save production-ready JPG, PNG, TIFF, or PSD files according to printer requirements.
Pro Tip
Different artwork types benefit from different expansion strategies. Content-Aware Fill is excellent for photographs and organic backgrounds, while mirror reflection often performs better on geometric patterns and packaging designs.
Keeping multiple presets for different product categories can significantly reduce setup time during production.
Common Mistakes
- Adding bleed after final export instead of during production preparation.
- Using the same extension method for every artwork type.
- Ignoring trim guides.
- Forgetting safe margins near edges.
- Manually processing large folders one file at a time.
- Stretching important visual elements into bleed areas.
- Failing to inspect generated edges before delivery.
Manual vs Automated Bleed Creation
| Factor | Manual Workflow | Automated Workflow |
|---|---|---|
| Setup Speed | Slow | Fast |
| Consistency | Depends on operator | Standardized |
| Batch Processing | No | Yes |
| Guide Creation | Manual | Automatic |
| Preset Support | No | Yes |
| Large Projects | Time consuming | Efficient |
| Production Scalability | Limited | High |
Benefits of Automating Bleed Creation
Production teams frequently manage hundreds of files with identical print requirements. Automation provides meaningful workflow improvements without changing creative processes.
- Reduced repetitive work
- More consistent output
- Faster production turnaround
- Reusable presets
- Batch folder processing
- Lower risk of human error
- Simplified prepress preparation
- Better scalability for agencies and print providers
These advantages become especially noticeable during large print campaigns and recurring client projects.
Frequently Asked Questions
What is bleed in Photoshop?
Bleed is extra artwork that extends beyond the final trim size to prevent white edges after printing and cutting.
Can Photoshop create bleed automatically?
Photoshop includes tools that help extend artwork, but automated scripts can streamline the process and reduce manual work.
Which bleed method is best?
The best method depends on the artwork. Photos often work well with Content-Aware Fill, while patterns may benefit from mirrored borders.
Can I process multiple files at once?
Using a batch-capable Photoshop script allows entire folders of files to be processed automatically.
Do I need guides?
Guides are highly recommended because they clearly indicate trim boundaries and help verify safe design areas.
Create Print-Ready Bleeds Faster
If your workflow regularly involves brochures, packaging, posters, catalogs, marketing materials, or commercial print files, automating bleed creation can significantly reduce production time.
Smart Bleed Pro combines multiple bleed generation methods, reusable presets, automatic guides, and batch processing into a single Photoshop workflow.
Conclusion
Adding bleed correctly is essential for professional print production. While manual methods remain useful for occasional projects, they become increasingly inefficient as workload grows.
Automated workflows help designers maintain consistency, reduce repetitive tasks, and prepare production-ready artwork more efficiently. By combining Content-Aware Fill, edge stretching, mirror reflection, guide creation, preset management, and batch processing, modern bleed automation can simplify one of the most repetitive stages of print preparation.
Whether you are an independent designer, print production specialist, packaging creator, or agency team, establishing a reliable bleed workflow can improve both speed and output quality across every project.