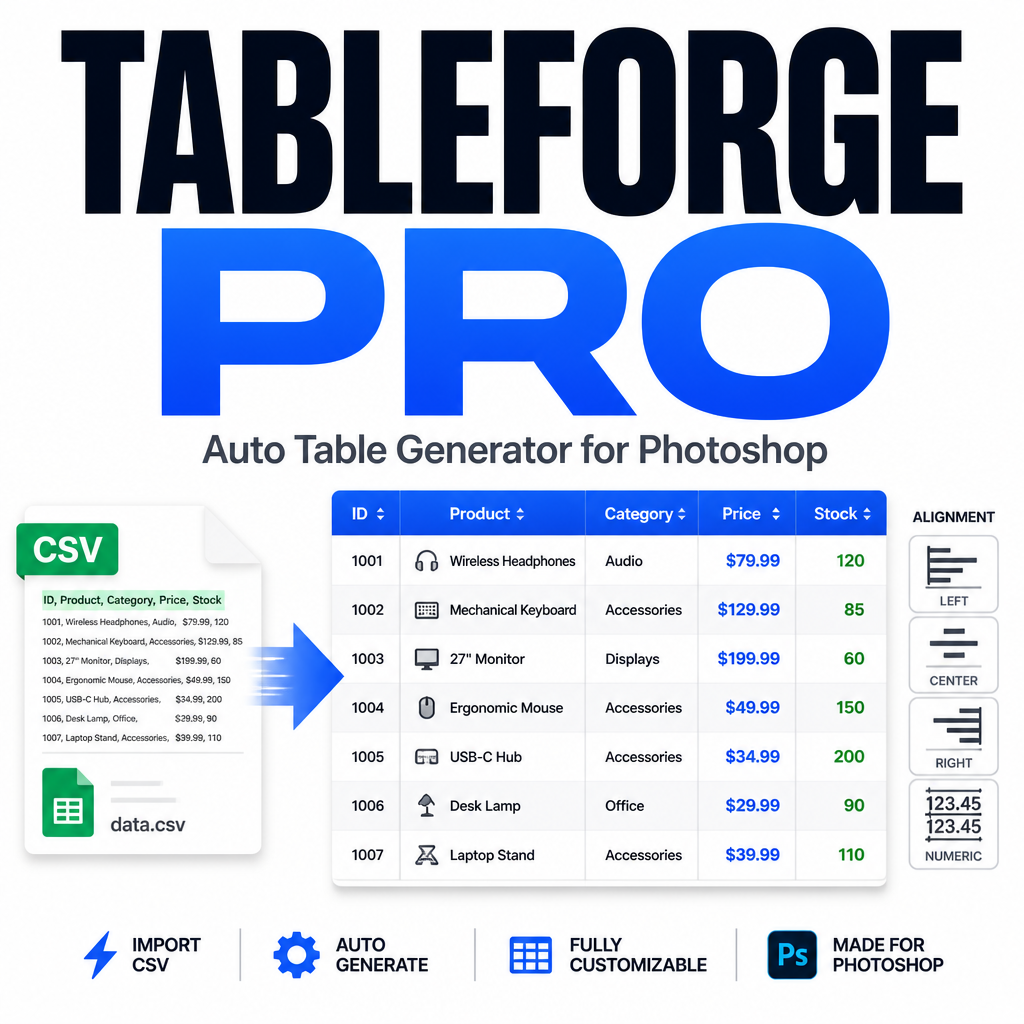
Creating tables in Photoshop sounds simple until you actually need to build one. Whether you're designing product specification sheets, comparison charts, pricing tables, educational materials, reports, or presentation graphics, tables often become one of the most repetitive tasks in a Photoshop workflow.
Unlike spreadsheet software, Photoshop was designed primarily for visual design. While it excels at image editing and layout creation, building structured tables manually can quickly become time-consuming. Designers often spend more time drawing lines, aligning rows, resizing text, and adjusting spacing than creating the actual content.
This becomes even more frustrating when working with CSV data exported from Excel, Google Sheets, inventory systems, or databases. Copying and pasting hundreds of cells manually is not only slow but also highly prone to formatting errors.
In this guide, you'll learn how to create professional tables in Photoshop efficiently, understand the limitations of manual workflows, and discover a faster method for generating structured tables directly from CSV data.
Key Takeaways
- Photoshop does not include a dedicated table creation tool.
- Manual table building requires repetitive line drawing and text placement.
- CSV data can be converted into structured Photoshop tables automatically.
- Consistent alignment improves readability and design quality.
- Zebra striping can make large tables easier to scan.
- Automation dramatically reduces production time for table-heavy projects.
The Problem with Creating Tables in Photoshop
Many designers assume creating a table is a quick task. In reality, the complexity increases rapidly as table size grows.
A simple 3×3 table might take only a few minutes. A 20×10 table with real content can require significantly more effort. Every row must remain aligned. Every column must maintain equal spacing. Text must stay centered or consistently justified.
Common projects that require tables include:
- Product specification sheets
- Feature comparison charts
- Price lists
- Educational worksheets
- Technical documentation
- Marketing reports
- Restaurant menus
- Inventory catalogs
When updates arrive from clients, the challenge becomes even larger. One additional column or a revised CSV file often means rebuilding major portions of the table.
The result is a workflow filled with repetitive production work rather than actual design.
Traditional Manual Workflow
Most Photoshop users follow a manual process when creating tables.
Draw the Grid
Designers create horizontal and vertical lines using shapes or guides. Equal spacing must be calculated manually.
Create Borders
Outer borders are added separately. Thickness consistency must be maintained across every edge.
Add Text Cell by Cell
Each text layer is positioned manually. Alignment must be adjusted individually.
Resize Long Content
Long text often exceeds cell boundaries and requires scaling or reformatting.
Maintain Layer Organization
Large tables can generate dozens or even hundreds of layers, making document management difficult.
Although this process works, it is inefficient for recurring production work.
Automated Table Workflow
A more efficient approach is to automate the repetitive portions of table creation.
Instead of manually building every row and column, a Photoshop script can generate the entire structure automatically.
Using a workflow like TableForge Pro, designers can:
- Import CSV files directly.
- Automatically detect rows and columns.
- Generate table grids instantly.
- Populate text automatically.
- Apply alignment settings globally.
- Create optional zebra striping.
- Keep layers organized automatically.
This shifts the workflow from manual production toward content-focused design.
Step-by-Step Guide
Step 1: Prepare Your Photoshop Document
Open an existing Photoshop document or create a new one. Define the area where the table should appear. If a selection exists, the table can be generated inside that region.
Step 2: Prepare Your Data
If working with spreadsheet data, export the information as a CSV file. Most spreadsheet applications support CSV export.
Ensure rows and columns are organized correctly before importing.
Step 3: Choose Table Generation Mode
There are two common approaches:
- Manual row and column creation.
- CSV-driven table generation.
CSV import is generally faster when working with real datasets.
Step 4: Configure Table Appearance
Select border thickness, text alignment, and font preferences.
Consistency is important. Uniform styling creates a more professional result.
Step 5: Enable Zebra Striping (Optional)
For larger tables, alternating row backgrounds improve readability.
This technique is commonly used in reports, dashboards, spreadsheets, and pricing charts.
Step 6: Generate the Table
Run the automation process and allow Photoshop to build the table structure automatically.
The grid, borders, text layers, and row styling are generated as organized layers.
Step 7: Final Design Adjustments
After generation, designers can apply branding, color systems, typography updates, or layout refinements.
Pro Tip
Keep source data in a spreadsheet until final approval. Updating data inside Excel or Google Sheets is significantly faster than manually editing dozens of Photoshop text layers. Once the dataset is finalized, regenerate the table for a cleaner workflow.
Common Mistakes to Avoid
- Using inconsistent column widths.
- Mixing alignment styles randomly.
- Creating tables with insufficient spacing.
- Ignoring long-text overflow issues.
- Building large tables entirely by hand.
- Failing to organize layers logically.
- Skipping readability enhancements such as zebra striping.
Manual vs Automated Workflow
| Task | Manual Workflow | Automated Workflow |
|---|---|---|
| Create Grid | Manual drawing | Automatic generation |
| Import Data | Copy and paste | CSV import |
| Text Placement | Cell-by-cell positioning | Automatic placement |
| Alignment | Manual adjustment | Global settings |
| Layer Structure | Manual organization | Generated automatically |
| Large Tables | Time-consuming | Efficient |
Benefits of Table Automation
Faster Production
Projects that previously required extensive setup can be completed in a fraction of the time.
Improved Accuracy
Automatic row and column generation reduces alignment errors.
Better Scalability
Large datasets become manageable without excessive manual effort.
Consistent Visual Design
Uniform borders, spacing, and alignment improve professionalism.
Reduced Rework
Changes to data can be handled more efficiently through regeneration rather than rebuilding.
For agencies, marketing teams, educators, and production designers, these benefits compound across multiple projects.
Frequently Asked Questions
Can Photoshop create tables natively?
Photoshop does not include a dedicated table creation feature similar to spreadsheet software.
Can CSV files be imported into Photoshop tables?
Yes. Automation scripts can read CSV data and populate table cells automatically.
Is zebra striping useful?
Yes. Alternating row colors improve readability, especially in larger tables.
Can table text be aligned automatically?
Yes. Alignment settings such as left, center, and right justification can be applied consistently.
Who benefits most from table automation?
Graphic designers, marketing teams, educators, e-commerce businesses, publishers, and agencies frequently benefit from automated table creation.
Create Photoshop Tables Faster
If your workflow involves pricing tables, comparison charts, reports, specifications, or spreadsheet-based content, automating table creation can eliminate hours of repetitive production work.
TableForge Pro streamlines CSV import, table generation, text placement, alignment, and formatting directly inside Photoshop, allowing designers to focus on presentation instead of construction.
Conclusion
Creating tables manually in Photoshop is possible, but it rarely scales well. As table complexity grows, repetitive tasks consume valuable design time and increase the likelihood of formatting inconsistencies.
By adopting a structured workflow and leveraging automation where appropriate, designers can generate professional tables more efficiently while maintaining visual quality.
Whether you're building product comparison charts, technical documentation, educational resources, or business reports, automating table creation transforms Photoshop from a manual production environment into a significantly more efficient design workflow.
The result is cleaner layouts, faster turnaround times, and more time spent on creative work instead of repetitive formatting tasks.