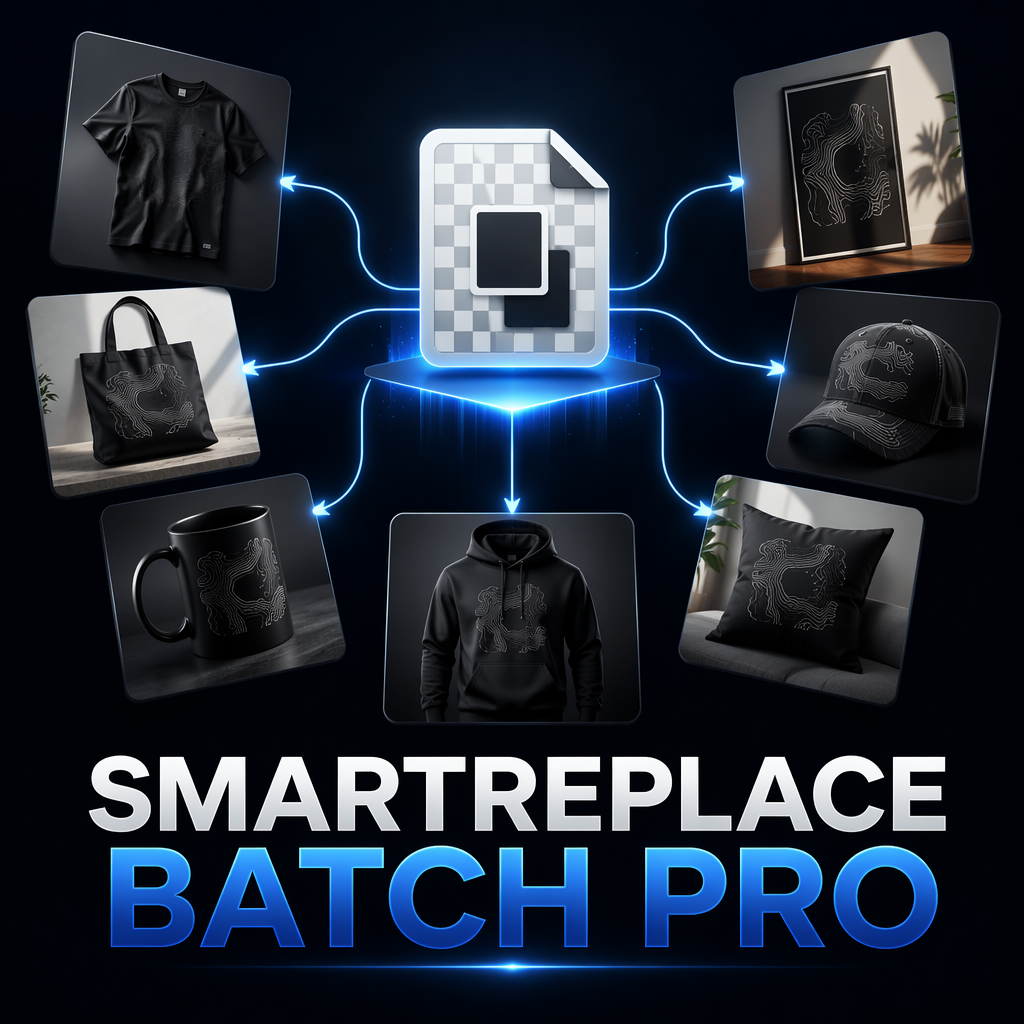
Batch replacing Smart Objects is one of the most valuable automation techniques available in Photoshop. Whether you create product mockups, apparel previews, print-on-demand designs, marketing banners, packaging concepts, social media assets, or client presentations, manually replacing images inside Smart Objects can quickly become a repetitive and time-consuming task.
When production scales from a few files to hundreds or even thousands, traditional workflows become difficult to maintain. Designers spend more time opening templates, updating Smart Objects, resizing content, exporting files, and managing folders than actually creating new designs.
This tutorial explains how to batch replace Smart Objects in Photoshop efficiently and how an automated workflow can dramatically reduce production time while maintaining consistency across large projects.
Key Takeaways
- Understand why manual Smart Object replacement becomes inefficient at scale.
- Learn the limitations of traditional Photoshop workflows.
- Discover how automated Smart Object replacement works.
- Use multiple image folders and template combinations efficiently.
- Export large volumes of mockups with consistent naming and output settings.
- Reduce repetitive production work while maintaining design quality.
Why Smart Object Replacement Becomes a Bottleneck
Smart Objects are a cornerstone of modern Photoshop workflows. They allow designers to insert external artwork into mockups while preserving editability and image quality. The challenge appears when the same template must be reused many times.
Consider a print-on-demand seller preparing 300 shirt mockups. Every design must be inserted into the same Smart Object layer, adjusted if necessary, saved, exported, and repeated again. Even when each replacement takes only a minute, hundreds of files can consume several hours.
The same issue affects:
- E-commerce product catalogs
- Packaging visualization projects
- Poster and print previews
- Social media campaign assets
- Client presentation mockups
- Marketplace product previews
The larger the project becomes, the more valuable automation becomes.
Manual Workflow: The Traditional Approach
The standard Photoshop workflow usually looks like this:
- Open a template file.
- Locate the Smart Object layer.
- Open Smart Object contents.
- Paste or place artwork.
- Resize and align manually.
- Save the Smart Object.
- Return to the template.
- Export output.
- Repeat for every image.
This process works perfectly for a small number of files. However, once production reaches dozens or hundreds of variations, repetitive actions start creating unnecessary overhead.
Designers frequently encounter issues such as inconsistent scaling, forgotten exports, incorrect file names, and accidental layer modifications.
Automated Smart Object Replacement Workflow
An automated Smart Object replacement workflow removes repetitive tasks from production.
Instead of opening every Smart Object manually, the script automatically identifies Smart Object layers and replaces their contents using source images from designated folders.
The workflow supports several production scenarios:
- Single template with multiple image sources
- Multiple Smart Object layers connected to different image folders
- Multiple templates combined with image libraries
- Random template and image combinations
- Automated export naming
- Batch output generation
This creates a scalable production system capable of handling large image volumes with minimal manual intervention.
Step-by-Step Guide
Step 1: Prepare Your Photoshop Template
Open a Photoshop document containing one or more Smart Object layers.
Templates may include:
- T-shirt mockups
- Mug mockups
- Poster templates
- Packaging designs
- Product presentations
Ensure every replaceable area is represented by a Smart Object layer.
Step 2: Organize Source Images
Create folders containing the artwork you want to insert.
The script can process supported formats including JPG, PNG, PSD, PSB, TIFF, and related image formats.
Well-organized folders make batch production significantly easier.
Step 3: Assign Smart Objects to Source Folders
In Standard Batch mode, each Smart Object layer can be linked to a specific image folder.
This is particularly useful when templates contain multiple replaceable regions that require independent image sources.
Step 4: Choose Scaling Behavior
The script includes multiple scaling options:
- Original Size
- Fill & Crop
- Stretch to Fit
- Fit Short Side
- Fit Long Side
These options help accommodate artwork with varying aspect ratios while maintaining consistent presentation quality.
Step 5: Configure Alignment
Positioning can be controlled through a nine-point alignment system.
Users can align content to:
- Center
- Top
- Bottom
- Left
- Right
- Corner positions
This provides predictable placement without requiring manual adjustments after every replacement.
Step 6: Select Export Settings
Choose export preferences based on project requirements.
- JPG
- PNG
- TIF
- PSD
Output naming rules can also be configured to automatically generate meaningful filenames.
Step 7: Run the Batch Process
Start processing and allow Photoshop to replace Smart Objects, update templates, and export files automatically.
A progress interface provides feedback during execution and allows cancellation if needed.
Pro Tip
When working with large mockup libraries, use structured folder names and automated filename patterns. Consistent naming makes asset management, uploads, and client delivery significantly easier after export.
Common Mistakes
- Using regular layers instead of Smart Objects.
- Mixing unrelated source images in the same folder.
- Ignoring aspect ratio differences.
- Using inconsistent export naming conventions.
- Failing to test a small batch before processing hundreds of files.
- Saving output into incorrect destination folders.
Manual vs Automated Workflow
| Task | Manual Workflow | Automated Workflow |
|---|---|---|
| Replace Smart Object | Repeated manually | Automatic |
| Multi-layer replacement | Time consuming | Configured once |
| Export management | Manual | Automatic |
| Template combinations | Limited | Scalable |
| Random generation | Not practical | Built-in workflow |
| Large-scale production | Difficult | Efficient |
Benefits of Batch Smart Object Automation
Automation is not simply about speed. It also improves consistency, reliability, and scalability.
Key benefits include:
- Reduced repetitive work
- More predictable outputs
- Faster project turnaround
- Improved asset organization
- Scalable mockup generation
- Better utilization of design time
Instead of spending hours on production tasks, designers can focus on creative decision-making and client work.
Frequently Asked Questions
Can the script work with multiple Smart Object layers?
Yes. Multiple Smart Object layers can be assigned to different image folders in Standard Batch mode.
Can I process multiple Photoshop templates?
Yes. Multi-Template mode allows processing entire template libraries automatically.
Does it support random combinations?
Yes. Random Batch mode creates randomized template and image pairings for large-scale mockup generation.
Can I export PNG files?
Yes. PNG, JPG, TIF, and PSD output formats are supported.
Do source images need identical dimensions?
No. Various scaling modes help adapt images with different aspect ratios.
Is this useful for print-on-demand businesses?
Absolutely. It is particularly valuable for sellers generating large numbers of product previews and mockups.
Scale Your Photoshop Production Workflow
Instead of manually replacing Smart Objects hundreds of times, automate repetitive production tasks and generate mockups, previews, and marketing assets in bulk with a streamlined workflow.
Conclusion
Batch Smart Object replacement is one of the most practical workflow improvements available to Photoshop users who regularly create mockups, product previews, marketing materials, and visual assets at scale.
While Photoshop provides excellent Smart Object functionality, manual replacement quickly becomes inefficient when production volume increases. Automated replacement workflows eliminate repetitive actions, reduce errors, and allow designers to focus on higher-value creative work.
Whether you are managing e-commerce catalogs, print-on-demand products, client deliverables, or large mockup libraries, a structured batch replacement workflow can dramatically improve productivity while maintaining professional output quality.