Introduction
Dimension annotations are essential whenever a Photoshop document needs to communicate real-world measurements. Whether you are preparing packaging artwork, print layouts, signage, engineering mockups, manufacturing references, product specifications, or UI spacing documentation, accurate dimensions help everyone understand size relationships quickly.
While Photoshop includes rulers and measurement tools, creating professional annotations manually can become surprisingly time-consuming. Designers often spend more time drawing arrows, calculating spacing, positioning labels, and updating dimensions than creating the actual design.
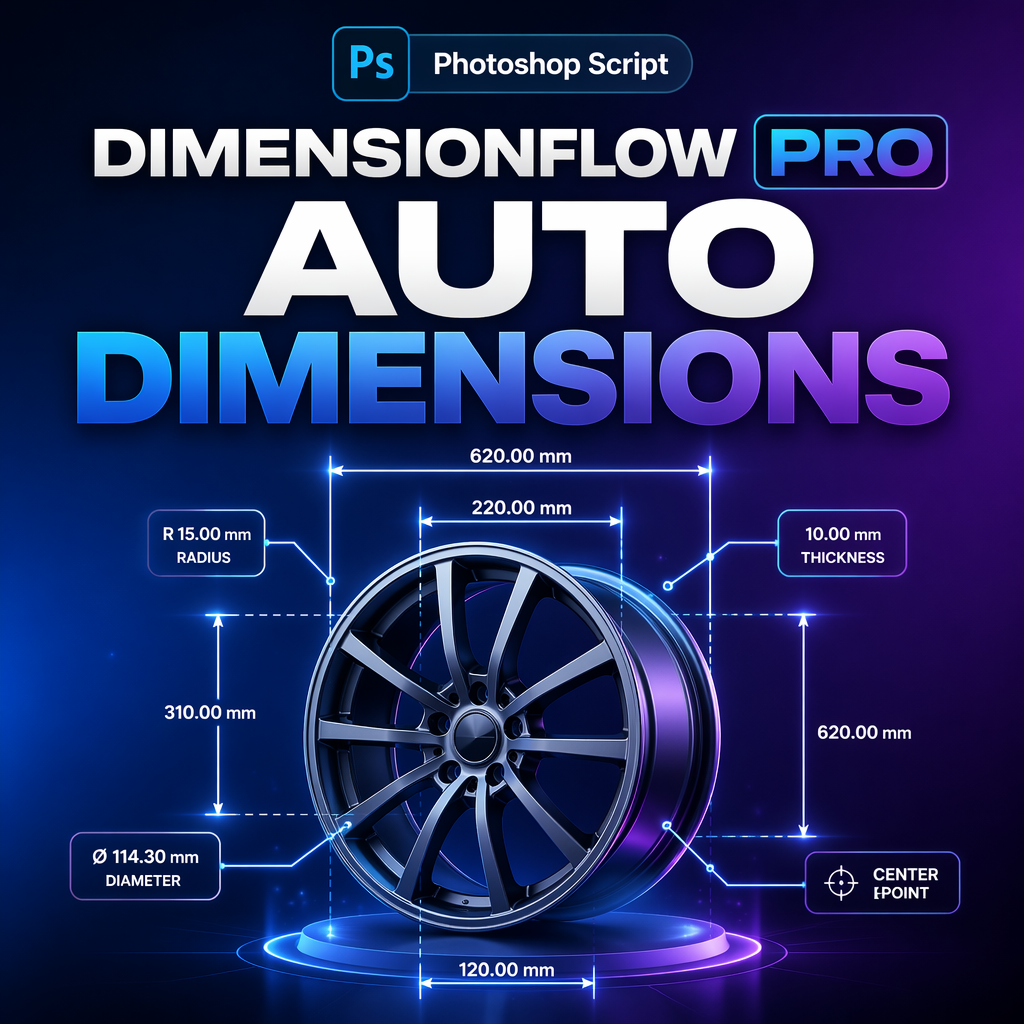
This tutorial explains both the traditional manual workflow and a more efficient automated approach that generates professional dimension annotations directly inside Photoshop.
Key Takeaways
- Learn how professional dimension annotations are created in Photoshop.
- Understand common challenges of manual measurement workflows.
- Discover methods for measuring objects, spacing, and total dimensions.
- Learn how angled dimensions can be documented accurately.
- Improve consistency across technical design projects.
The Problem with Manual Dimension Annotation
Most designers start by drawing lines manually. They use rulers to determine distances, create shapes for arrows, add text layers for measurements, and carefully align every element.
This process works for a few dimensions. However, once projects become larger, several problems appear:
- Repeated calculations increase production time.
- Manual spacing measurements are difficult to maintain.
- Arrow alignment becomes inconsistent.
- Text placement varies across annotations.
- Updating designs requires recreating measurements.
- Human error becomes more likely.
Technical drawings and specification sheets may contain dozens of dimensions. Small inconsistencies can make documents appear unprofessional and difficult to understand.
Manual Workflow in Photoshop
A traditional workflow typically includes:
- Selecting the Ruler Tool.
- Measuring an object or distance.
- Calculating the required unit conversion.
- Drawing annotation lines manually.
- Creating arrowheads using shapes.
- Adding text labels.
- Aligning every element visually.
- Repeating the process for every measurement.
Although Photoshop provides the building blocks, it does not provide a dedicated dimension annotation system similar to CAD software.
As project complexity increases, this workflow quickly becomes inefficient.
Automated Script Workflow
A modern annotation workflow focuses on automation instead of repetitive drawing.
Using an automated dimension annotation script, designers can select layers or selections and instantly generate measurement graphics.
The workflow becomes:
- Select object layers.
- Choose annotation type.
- Select measurement units.
- Apply annotation.
- Automatically generate labels, arrows, and measurement lines.
Instead of spending minutes per measurement, dimensions can be created in seconds.
Step-by-Step Guide
Step 1: Select Objects
Select one or multiple layers that require measurement.
Step 2: Choose Annotation Mode
Different measurement tasks require different modes:
- Single Object Measurement
- Spacing Measurement
- Total Distance Measurement
- Continuous Spacing Measurement
Step 3: Choose Units
Depending on the project requirements, dimensions can be displayed using:
- Millimeters (mm)
- Centimeters (cm)
- Meters (m)
- Points (pt)
- Pixels (px)
Step 4: Configure Annotation Style
Professional documentation often requires different visual standards.
- Filled Arrow
- Slash Mark
- Straight Tick Mark
- Dot Marker
Step 5: Generate Measurements
The script automatically creates measurement graphics, labels, extension lines, and spacing indicators.
Step 6: Update Existing Dimensions
When artwork changes, annotations can be regenerated without rebuilding everything manually.
💡 Pro Tip
Use continuous spacing measurements when documenting grids, layouts, packaging elements, or interface components. Measuring all gaps simultaneously provides a much clearer visual explanation than individual annotations.
⚠ Common Mistakes
- Mixing multiple unit systems within the same document.
- Using inconsistent arrow styles.
- Placing labels too close to objects.
- Forgetting scale conversion requirements.
- Creating manual annotations that cannot be updated later.
Manual vs Automated Comparison
| Task | Manual Workflow | Automated Workflow |
|---|---|---|
| Object Measurement | Manual calculation | Automatic |
| Spacing Measurement | Complex | Automatic |
| Arrow Creation | Manual drawing | Automatic |
| Unit Conversion | Manual | Automatic |
| Consistency | Variable | High |
| Updating Annotations | Time-consuming | Fast |
Benefits of Automated Dimension Annotation
- ⚡ Faster production workflows
- 🎯 Consistent measurement graphics
- 🚀 Reduced manual effort
- Improved documentation quality
- Better communication with clients and production teams
- More reliable technical deliverables
For designers producing technical documentation regularly, automation becomes a significant productivity advantage.
FAQ
Can Photoshop create dimension annotations natively?
Photoshop provides measurement tools but does not include a dedicated CAD-style annotation system.
Can spacing between layers be measured automatically?
Yes. Automated annotation workflows can calculate gaps between selected objects.
Can angled measurements be documented?
Yes. Angled dimensions can be generated using ruler-based measurements.
Which units are supported?
Millimeters, centimeters, meters, points, and pixels.
Who benefits most from dimension annotations?
Packaging designers, print designers, technical illustrators, manufacturing teams, UI designers, and production artists.
Generate Professional Measurements in Seconds
Replace repetitive annotation work with a faster and more consistent Photoshop dimension workflow.
Conclusion
Dimension annotations play a critical role in professional design communication. While Photoshop can support measurement workflows manually, the process often becomes repetitive and difficult to maintain.
By introducing automation into the annotation process, designers can generate accurate measurements, spacing indicators, total dimensions, and angled annotations with significantly less effort. The result is cleaner documentation, improved consistency, and more time available for creative work.
Whether you are preparing packaging specifications, print layouts, production documents, or interface spacing guides, a dedicated dimension annotation workflow can dramatically improve both speed and accuracy.