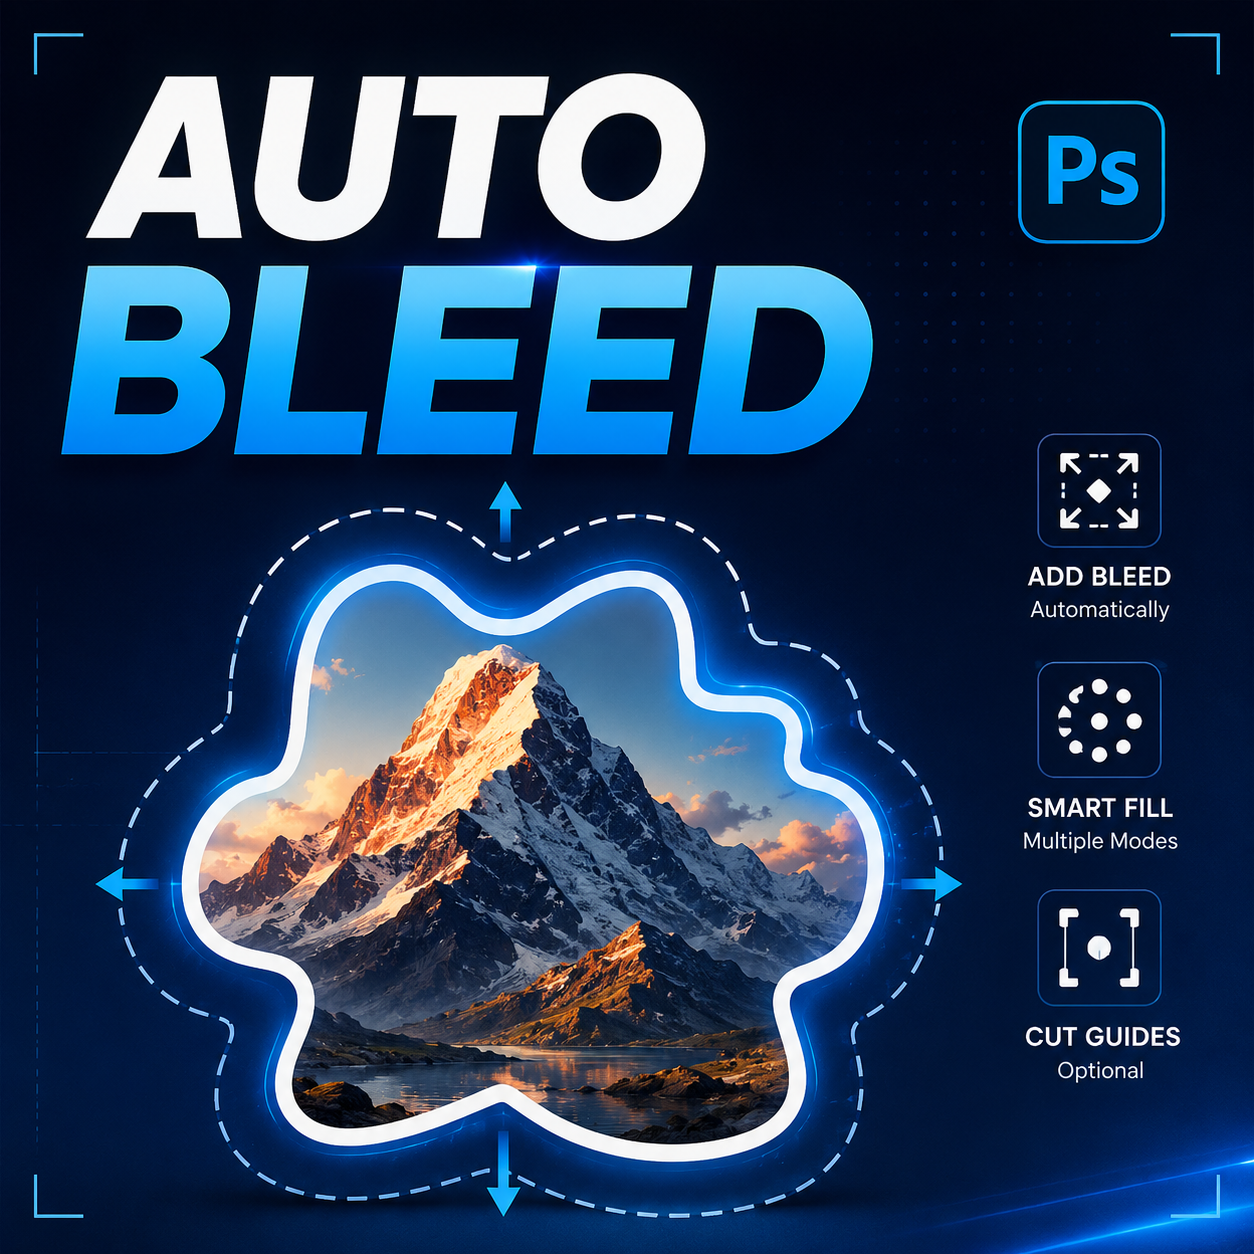
Creating bleed for rectangular artwork is relatively straightforward in Photoshop. The challenge begins when you are working with stickers, die-cut labels, custom packaging, product tags, contour-cut graphics, or any design that follows an irregular outline.
Unlike standard documents, irregular shapes require bleed that follows the actual contour of the artwork. Designers often spend significant time manually extending edges, smoothing outlines, generating masks, and preparing files for commercial printing.
In this guide, you will learn how to create bleed for irregular shapes in Photoshop, understand the limitations of manual workflows, and discover a faster approach that can help streamline print production projects.
Key Takeaways
- Bleed prevents unwanted white edges after trimming.
- Irregular shapes require contour-based bleed generation.
- Manual bleed creation is often slow and inconsistent.
- Photoshop selections and paths can be used to build custom bleed areas.
- Automated workflows significantly reduce production time.
- Different artwork types benefit from different bleed generation methods.
Why Bleed Matters for Irregular Shapes
Bleed refers to artwork that extends beyond the final cut line. During printing and cutting, small variations can occur. Without bleed, even minor cutting shifts may expose white edges around the finished product.
For rectangular documents, designers simply extend the canvas or background elements beyond trim boundaries. However, when the artwork follows a custom contour, the bleed must follow the exact outline of the shape.
This is especially important for:
- Die-cut stickers
- Product labels
- Packaging graphics
- Promotional decals
- Retail display elements
- Contour-cut signage
- Print-on-demand products
The more complex the shape, the more difficult manual bleed generation becomes.
Manual Workflow for Creating Irregular Shape Bleed
Many designers rely on a manual workflow inside Photoshop. While this approach works, it often becomes inefficient when processing multiple files.
Typical Manual Process
- Select the subject transparency.
- Expand the selection outward.
- Create a new layer beneath the artwork.
- Fill the expanded area.
- Use content-aware techniques or painting tools to extend details.
- Create masks and refine edges.
- Smooth contour irregularities.
- Generate cut-line guides manually.
- Repeat for every artwork variation.
This process may only take a few minutes for simple artwork, but can become a major bottleneck when preparing dozens or hundreds of production files.
Automated Workflow Using ShapeBleed Pro
Modern production environments benefit from automation whenever repetitive tasks appear in the workflow. ShapeBleed Pro was designed specifically to automate bleed generation for irregular shapes.
Instead of manually expanding selections and rebuilding contours, the script analyzes the selected layer, generates a clean bleed boundary, and creates the extended artwork automatically.
The script offers multiple fill modes depending on the artwork type:
- Content-Aware Fill
- Smooth Radial Expansion
- Gaussian Diffusion Expansion
- Foreground Solid Color Bleed
Because different artwork requires different treatments, having multiple generation methods provides flexibility without requiring manual reconstruction.
Step-by-Step Guide
Step 1: Prepare Your Artwork
Open your Photoshop document and ensure the subject exists on its own layer with transparent surroundings.
Step 2: Select the Subject Layer
Choose the layer containing the artwork that requires bleed generation.
Step 3: Define Bleed Size
Enter the desired bleed value based on your print specifications. Different print providers may require different bleed dimensions.
Step 4: Configure Overlap
Adjust overlap settings if your workflow requires additional coverage around edge details.
Step 5: Set Path Tolerance
Path tolerance controls the smoothness of the generated contour.
- Lower values preserve detail.
- Higher values create smoother outlines.
Step 6: Choose a Fill Mode
Select the most appropriate generation method for your artwork type.
Step 7: Generate Optional Guides
Enable guide creation if you want a visual reference of the original cut position.
Step 8: Generate the Bleed
Run the script and review the generated output. Adjust settings if needed and regenerate until the desired result is achieved.
Pro Tip
When working with highly detailed illustrations, start with a lower path tolerance value to preserve edge accuracy. For stickers, labels, and simplified vector artwork, increasing tolerance can create smoother and more production-friendly contours.
Common Mistakes
- Using insufficient bleed distance.
- Ignoring printer bleed requirements.
- Creating bleed with visible edge artifacts.
- Using overly aggressive smoothing values.
- Forgetting to preserve cut-line references.
- Applying the same bleed method to every artwork type.
- Failing to inspect corners and narrow areas after expansion.
Manual vs Automated Bleed Creation
| Task | Manual Workflow | ShapeBleed Pro Workflow |
|---|---|---|
| Selection Expansion | Manual | Automatic |
| Path Creation | Manual | Automatic |
| Contour Smoothing | Manual | Adjustable |
| Guide Generation | Manual | Optional Automatic |
| Multiple Fill Methods | Requires Separate Techniques | Built In |
| Batch Production Efficiency | Low | High |
Benefits of Automating Bleed Creation
Automation is not simply about saving time. Consistency plays an equally important role in professional print workflows.
Automated bleed generation helps:
- Reduce repetitive production work.
- Improve consistency between projects.
- Minimize human error.
- Create cleaner contours.
- Maintain predictable print preparation processes.
- Handle large quantities of artwork more efficiently.
For agencies, print shops, packaging designers, and freelancers handling recurring production work, these improvements compound significantly over time.
Frequently Asked Questions
What is bleed in Photoshop?
Bleed is artwork that extends beyond the final cut boundary to prevent white edges after trimming.
Can Photoshop create bleed automatically?
Photoshop includes tools that help create bleed manually, but automation scripts can significantly simplify the process.
What bleed size should I use?
The required bleed size depends on your printer's specifications. Always verify production requirements before exporting files.
Can irregular shapes use content-aware fill?
Yes. Content-aware expansion can work well for many photographic and textured artworks.
What is path tolerance?
Path tolerance controls how closely generated contours follow the original artwork shape.
Can I generate cut guides automatically?
Yes. Some automation workflows can create guide layers that indicate the original cut position.
Speed Up Your Print Preparation Workflow
If you regularly prepare stickers, labels, packaging artwork, or die-cut graphics, automating bleed generation can dramatically reduce repetitive production work while maintaining consistent results.
ShapeBleed Pro helps create contour-based bleed areas using multiple generation methods, adjustable smoothing controls, and optional cut-position guides directly inside Photoshop.
Conclusion
Creating bleed for irregular shapes in Photoshop is one of the most common challenges in print production. While manual methods remain possible, they often require considerable time and attention to detail.
By combining automated path generation, contour smoothing, bleed expansion, and multiple fill techniques, modern workflows can dramatically simplify the process while maintaining production-ready quality.
Whether you are designing stickers, labels, packaging, or contour-cut graphics, understanding how irregular bleed works will help you deliver cleaner files, reduce production issues, and improve overall efficiency.