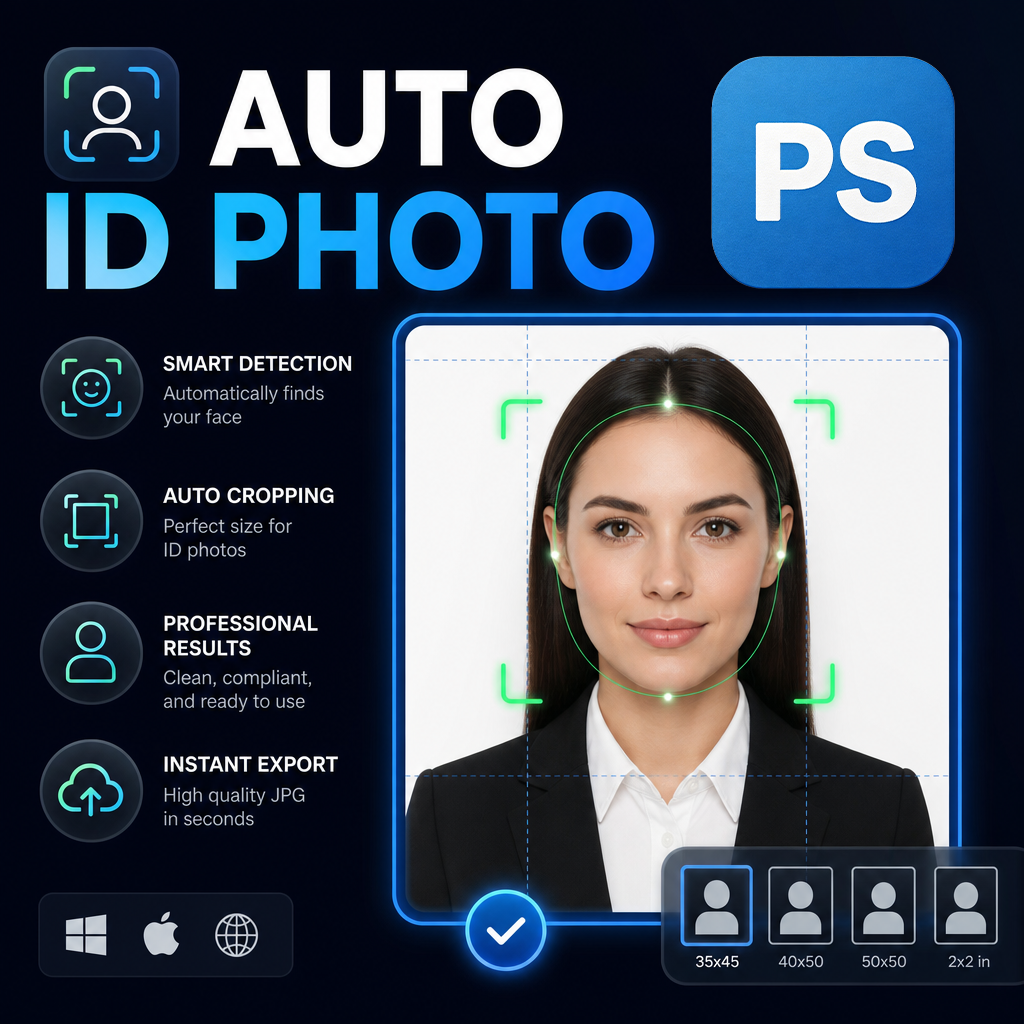
Creating passport photos, visa photos, and official identification portraits in Photoshop can be surprisingly time-consuming. While Photoshop offers powerful editing tools, preparing dozens or hundreds of compliant ID photos often involves repetitive tasks such as cropping, resizing, changing backgrounds, extending canvas areas, and exporting multiple size variations.
For photographers, photo studios, print shops, visa service providers, and government document preparation businesses, efficiency becomes just as important as image quality. This guide explains how to create passport and visa photos in Photoshop manually and how an automated Photoshop Script can dramatically simplify the process.
Key Takeaways
- Passport photos require precise dimensions and consistent formatting.
- Photoshop can create compliant ID photos manually, but the workflow is repetitive.
- Multiple countries use different photo size requirements.
- Background color variations are often required for different applications.
- Automation significantly reduces production time when processing multiple images.
- Batch exporting multiple photo sizes helps eliminate repetitive resizing tasks.
The Challenge of Creating ID Photos in Photoshop
Most people assume that creating an ID photo is simply a matter of cropping an image. In reality, professional passport and visa photography requires much more precision.
Different countries require different photo dimensions. A US visa photo may require one format, while a Japanese visa application may require another. Some applications need white backgrounds, while others require blue or red backgrounds. Resolution requirements also vary depending on printing specifications.
When these requirements are multiplied across multiple clients, manual production becomes inefficient and increases the likelihood of mistakes.
Common challenges include:
- Maintaining consistent portrait positioning.
- Producing multiple output sizes from one source image.
- Changing background colors without creating visible edge artifacts.
- Exporting files at print-ready resolutions.
- Managing large batches of customer photos.
- Avoiding repeated manual resizing and canvas adjustments.
Manual Workflow in Photoshop
A traditional Photoshop workflow usually starts with opening an image and manually selecting the subject. The editor then crops the portrait, adjusts canvas dimensions, changes the background if necessary, and exports the file.
This process must often be repeated for every required photo format.
A typical manual workflow includes:
- Open image.
- Remove or replace background.
- Select the correct crop area.
- Resize image dimensions.
- Adjust canvas size.
- Correct white edges around hair and clothing.
- Create additional copies for alternative dimensions.
- Export JPG, PNG, or TIFF files.
While manageable for a few images, this workflow becomes increasingly inefficient when dealing with larger workloads.
Automated Script Workflow
An automated Photoshop Script can streamline the entire ID photo production process. Instead of manually repeating the same actions, the workflow becomes configuration-driven.
The script analyzed here is designed specifically for portrait photo processing. It supports automatic portrait cropping through Photoshop Actions, multiple standard ID photo sizes, customizable dimensions, batch processing, automatic canvas adjustment, smart content-aware filling, background color replacement, and export to multiple file formats.
Supported outputs include common passport and visa photo sizes such as:
- Standard 1-Inch Photos
- Standard 2-Inch Photos
- Japan Visa Photos
- US Visa Photos
- Custom Dimensions
- Additional print photo formats
Instead of processing each version individually, multiple size variations can be generated from a single portrait.
Step-by-Step Guide
Step 1: Prepare Source Images
Place all portrait photos into a dedicated input folder. Ensure images are properly exposed and suitable for identification use.
Step 2: Configure Output Location
Select an output folder where processed files will be saved. Keeping source and output folders separate helps maintain an organized workflow.
Step 3: Choose Export Format
Select the desired output format:
- JPG for general printing
- PNG for lossless image quality
- TIFF for professional production workflows
Step 4: Set Resolution
Choose a print-ready resolution suitable for your requirements. Higher PPI settings generally provide better print quality.
Step 5: Select Target Sizes
Choose one or multiple predefined ID photo formats. If needed, enter custom dimensions in millimeters.
Step 6: Configure Background Options
The workflow supports:
- Original background retention
- White background output
- Blue background output
- Red background output
- Custom RGB background colors
Multiple background variations can be generated simultaneously.
Step 7: Start Batch Processing
Run the process and allow Photoshop to automatically handle cropping, resizing, canvas adjustments, smart filling, background replacement, and export operations.
Pro Tip
If your business regularly creates passport and visa photos, save a dedicated Photoshop Action optimized for portrait alignment. Combining a consistent Action with automated resizing can significantly improve output consistency across large batches.
Common Mistakes to Avoid
- Using incorrect country-specific dimensions.
- Exporting at insufficient print resolution.
- Leaving visible background removal artifacts.
- Ignoring edge cleanup around hair.
- Creating only one size when multiple outputs are required.
- Manually repeating resize operations for every customer.
Manual vs Automated Workflow Comparison
| Task | Manual Photoshop | Automated Script Workflow |
|---|---|---|
| Portrait Cropping | Manual | Action-based automation |
| Multi-Size Output | Repeated manually | Generated automatically |
| Background Variations | One at a time | Multiple outputs in one run |
| Canvas Extension | Manual adjustment | Automatic processing |
| Batch Processing | Limited | Built-in workflow |
| Export Formats | Manual export | Automated JPG, PNG, TIFF export |
Benefits of an Automated ID Photo Workflow
Automation is not simply about speed. It also improves consistency and scalability.
For photography businesses and document service providers, repeatable workflows help ensure every customer receives properly formatted images regardless of volume.
Key benefits include:
- Reduced manual editing time.
- Consistent photo dimensions.
- Fewer production errors.
- Faster turnaround for clients.
- Improved scalability for growing businesses.
- Streamlined export management.
Frequently Asked Questions
Can Photoshop create passport photos?
Yes. Photoshop provides all necessary tools for cropping, resizing, background replacement, and exporting passport photos.
Can I generate multiple passport photo sizes at once?
Using an automated Photoshop Script, multiple size variations can be generated from a single portrait during one processing session.
What background colors are commonly required?
White, blue, and red are among the most common requirements depending on country and application type.
Which export format is best?
JPG is typically suitable for most print workflows, while PNG and TIFF may be preferred for higher-quality production environments.
Can custom dimensions be used?
Yes. Custom width and height values can be entered when standard presets are not sufficient.
Speed Up Passport Photo Production
If you regularly create visa photos, passport photos, employee badges, identification cards, or official portrait images, automating repetitive Photoshop tasks can save significant production time while maintaining consistent output quality.
Conclusion
Creating passport and visa photos in Photoshop is straightforward, but scaling the process efficiently requires a more structured workflow. Manual editing remains useful for occasional projects, yet repetitive tasks such as cropping, resizing, canvas adjustment, background replacement, and exporting quickly become bottlenecks.
By implementing an automated Photoshop Script workflow, photographers and document preparation professionals can generate multiple compliant ID photo formats from a single source image while reducing manual effort. The result is a faster, more consistent production process that supports both quality control and business growth.